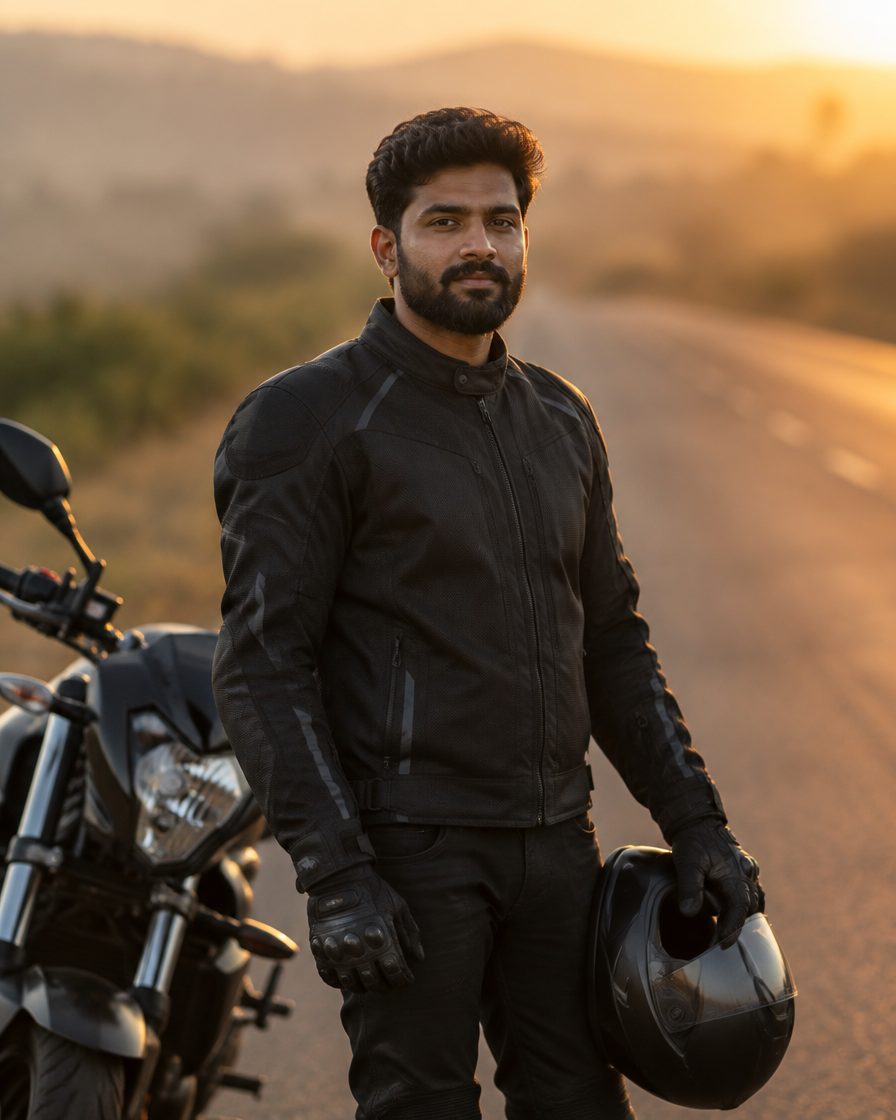
The car and bike transition reel is the most reshot format on Indian Instagram, and also the most badly shot. Most attempts fail for the same reason: the person shoots random clips first and then hunts for a transition in the edit. Professionals do it backwards. They decide the transition first, shoot the two frames that make it work, and everything else is filler. This guide gives you that order — a fixed six-shot list you can run in about twenty minutes, the AI prompts to generate any shot you could not get, and the exact VN timings to cut it together. Once you have done it twice, it becomes a twenty-minute job you can repeat for any client or any bike.

How a transition actually works
Every clean transition is two clips that share one thing — a movement, a shape, or a colour that fills the frame. Your hand swipes past the lens in clip one, and clip two starts with something swiping away. Your helmet visor closes and goes black; the next clip opens from black. The wheel fills the frame spinning left, the next shot starts with the fan of the headlight spinning left. That shared element is the whole trick. If two clips share nothing, no amount of editing will hide the cut.
So before you shoot anything, pick one: whip pan (camera swings fast left or right), cover the lens (hand, jacket or helmet passes right over it), or match cut (round wheel to round headlight, or key turning to engine starting). The rest of this guide assumes you picked one of those three.
The six-shot list
Shoot all six in 4K 60fps if your phone allows it, because you will slow some of them down later. Keep the sun behind or beside you, never in front. Each shot needs about five seconds, no more.
Shot 1 — the outfit reveal. You standing in casual clothes, phone at chest height, walking toward the camera. End the clip with your hand crossing the lens. This hand is your transition point.
Shot 2 — the reveal after. Same spot, same light, same framing, but now in the riding jacket or the outfit you want to show. Start the clip with your hand already crossing the lens and moving away. Matching the framing is what sells it, so do not move your feet between the two takes.
Shot 3 — the detail. Keys, gloves, helmet strap, or the fuel cap. Very close, shallow, and slow. This is the shot that makes the reel look expensive and it takes ten seconds to get.
Shot 4 — the wheel roll. Phone low, almost on the ground, wheel entering frame and rolling past. Shoot it twice: once with the bike moving toward the camera and once away.
Shot 5 — the rider shot. Someone else holds the phone, or you prop it on the ground. You ride past, left to right. Keep the phone still and let the bike do the moving.
Shot 6 — the ending. Rear of the bike or car going away from the camera, ideally into the sun or into a turn. This is where the reel lands.
Missing a shot? Generate it
Nobody gets all six. It rains, the location is crowded, or you only have a photo of the car. These prompts fill the gaps — paste them into ChatGPT or Gemini along with a photo of your bike or car, and use the result as a cutaway.
Prompt 1: Cinematic detail shot from one photo

Result check karke use karein. App ki availability, limit aur cost aapke account par depend karti hai.
Prompt 2: Rider hero shot

Chehra same rehne ki guarantee nahi hai. Result ko apni reference photo se compare karo aur zaroorat ho to correction do.
Prompt 3: Night street version of the same vehicle

Result check karke use karein. App ki availability, limit aur cost aapke account par depend karti hai.
The VN edit, step by step
Open VN, start a new project and import all six clips in order. Add your music first, not last — the beat decides every cut you are about to make.
- Tap the music icon, add your track, then tap Beat and mark the beats. You will cut on those marks.
- Trim shot 1 so the last four frames are your hand covering the lens. Trim shot 2 so the first four frames are the hand moving away. Place them back to back on a beat.
- Select the join and add Transition → Blur or Zoom, length 0.3s. Anything longer looks slow.
- On the wheel shot, tap Speed → Curve → Bullet so it snaps fast then slows. This is the velocity feel people are copying.
- Put the detail shot on a quiet beat, at 0.5x speed, for about one second.
- End on shot 6 and let it run two full beats past the last cut so the reel does not feel chopped.
- Export at 1080p 60fps. Do not use 4K for Instagram — it gets recompressed anyway and takes longer to upload.
Timing that works
Keep the whole thing between 7 and 12 seconds. The first cut should land within the first second — that is what stops the scroll. Do not put your logo at the start; put it at the end, over shot 6, where people who watched the whole thing will see it. If you are making this for a client, export a second version with no music so they can add their own.
Turning this into paid work
This format sells because showrooms, modification shops and second-hand dealers all need it and almost none of them can shoot it. Shoot one for your own bike, post it, and use it as your sample. A single location visit gives you the six shots for one vehicle in twenty minutes, which means three vehicles in a morning. Price per reel, not per hour, and keep the raw clips — the same six shots recut with a different song is a second deliverable at almost no cost.
Common mistakes
Shooting the before and after from slightly different positions — the transition breaks instantly. Using a transition longer than half a second. Cutting off the beat, which makes even good footage feel amateur. Shooting at midday, when the sun flattens the paint and kills every reflection; early morning or the hour before sunset is worth more than any preset. And filming vertically but framing horizontally, so the vehicle only fills a third of the screen — get closer than feels right.
More for creators
For the editing side, the velocity slow-motion guide covers the speed curve in more detail, and the 3-layer reel guide shows how to stack clips for a richer edit. If you want to write your own prompts for any of the shots above, the Prompt Builder and the prompt guide will save you the guesswork.
More trends
View all → AI Photo Editing
Royal Navratri AI Photo Prompts: Black Lehenga Look + Instagram Edits Reel Guide
 Creator Kit
Edits Film Festival 2026: Simple Clip Se Cinematic Reel
 Creator Kit
Navratri Reel Ki Shuruaat Kaise Karein: VN Mein 3 Simple Shots
 Creator Kit
Festival Season Content Calendar 2026: Navratri Se New Year Tak
 AI Photo Editing
Couple AI Photo Prompts: 7 Natural & Candid Photoshoot Ideas
 AI Photo Editing