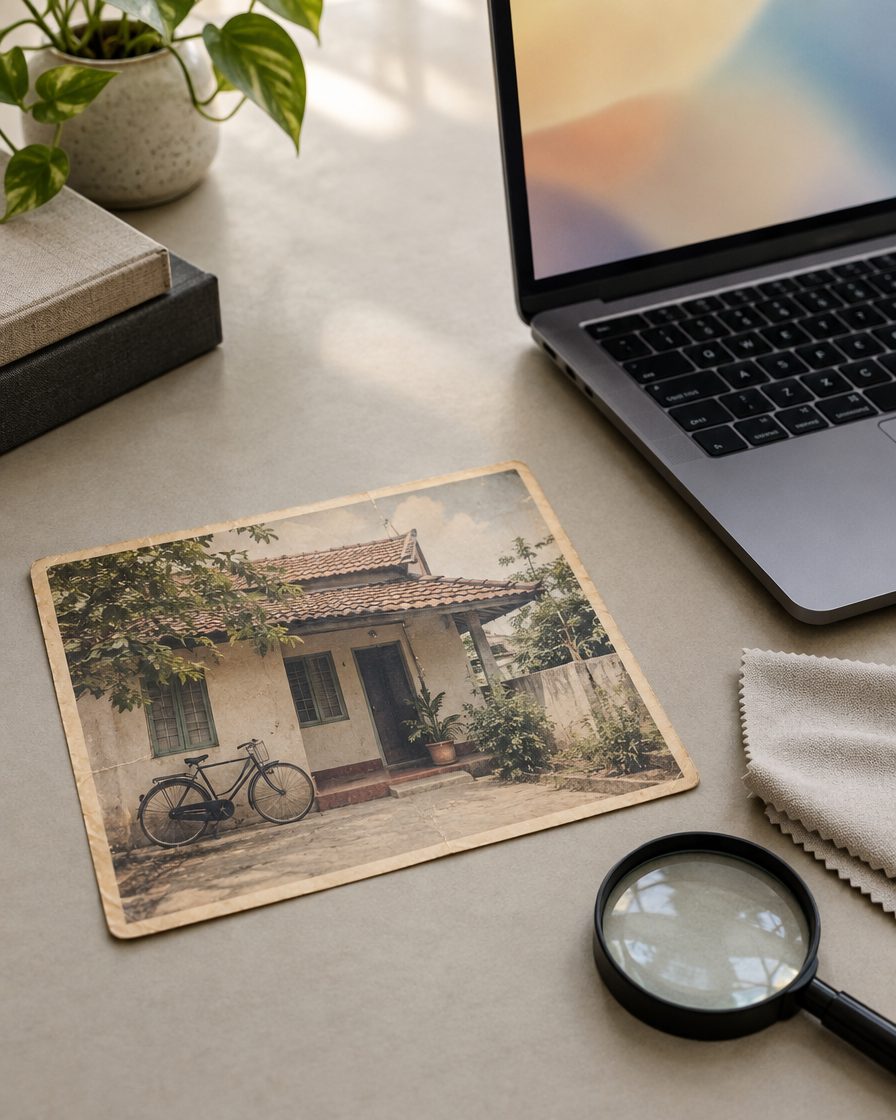
Photo mein dull sky, purani scratches ya distracting background hai? Lightroom desktop ka Prompt to Edit feature photo mein badlav ke liye likhi hui instruction leta hai. Isi instruction ko prompt kehte hain. Neeche pehle ek simple edit ka tarika hai, phir apni photo ke hisab se chunne ke liye paanch prompt ideas.

4 October 2026 update: Adobe ne ise Lightroom desktop ka early-access feature bataya hai. Output options mein Nano Banana 2 ke 2K aur 4K choices hain. Mobile ya Lightroom Classic mein wahi option maan kar na chalein. Adobe ki official guide mein current steps dekhein.
Aapko kya chahiye
Desktop Lightroom mein feature access, ek photo jise edit karne ki permission aapke paas ho, aur original ki safe copy. Ye guide free ya unlimited generation ka promise nahi karti. Generate karne se pehle app mein apna available credit balance dekhein.
Pehla edit: sky ko natural sunset banayein
Aisi outdoor photo choose karein jisme sky clearly dikh raha ho. Ek saath face, clothes, sky aur background sab badalne ki jagah pehle sirf sky par kaam karein. Isse result compare karna aasaan rahega.
1. Lightroom mein photo kholein aur left panel se Prompt to Edit select karein.
2. Neeche diya sunset prompt Prompt field mein paste karein.
3. Output settings mein available model aur resolution choose karein; phir Generate dabayein.
4. Nayi image ko original se compare karein. Adobe ke mutabik generated result DNG file ke roop mein milta hai.
Apni photo ke liye ek prompt choose karein
Ye paanch alag choices hain; inhe ek ke baad ek chalana zaroori nahi. Prompts suggested starting points hain. AI aapki photo ke hisab se alag result de sakta hai.
1. Natural sunset sky
Replace only the dull sky with a soft natural sunset. Match the direction of light in the original photo. Preserve the buildings, trees, people and their facial features. Keep the colours believable, without an orange filter over the whole image.
Agar photo midday ki hai aur strong shadows hain, dramatic sunset unnatural lag sakta hai. Tab “soft natural sunset” ko “soft lightly clouded blue sky” se badlein.
2. Purani photo ki scratches
Reduce visible dust and scratches in this old photograph. Preserve the original composition, faces, clothing and small meaningful details. Keep natural texture and gentle grain. Do not invent missing facial details or make the image look like a modern studio portrait.
Missing detail ko AI sahi tarah recover karega, aisa maan kar na chalein. Family photo mein aankhon, jewellery aur kapdon ke pattern ko original se zaroor milayein.
3. Background ka dustbin hatayein
Remove the small dustbin in the background. Fill that area naturally using the surrounding ground and wall. Preserve the main subject, their face and clothing, and the original lighting. Do not remove other objects.
Photo mein dustbin nahi hai toh “small dustbin” ko actual unwanted object se replace karein, jaise “red plastic chair”. Ek baar mein ek object target karein.
4. Black-and-white photo ko soft colour
Add subtle, believable colour to this black-and-white photograph. Keep the original faces, composition and texture. Use restrained colours and natural skin tones. Avoid overly saturated clothing or a modern glossy look.
Ye creative colour interpretation hai. Purani photo mein kapde ka original rang kya tha, AI ko automatically maloom nahi hota. Rang maloom ho toh prompt mein clearly likhein.
5. Portrait mein distracting wall marks
Clean the distracting stains on the wall behind the person. Preserve the person's face, hair, skin texture and clothing. Keep the wall's original colour and the existing light and shadows. Do not smooth or retouch the person's skin.
Result save karne se pehle
Image ko bada karke face, fingers, hair edges aur straight lines dekhein. Sirf overall colour pasand aane par accept na karein. Agar unwanted changes aayein, original se dobara ek smaller edit try karein; baar-baar generate karne se pehle credit balance check karein.
Final photo ko Lightroom ke normal export option se save karein aur saved file ko kholkar dekhein. Original alag rakhein, taaki baad mein comparison ya different edit kar sakein.
Option nahi dikh raha?
Pehle check karein ki aap desktop Lightroom use kar rahe hain aur app updated hai. Early access ki availability aapke setup mein alag ho sakti hai. Button nahi milne par mobile ke unrelated tool mein ye steps force na karein; official guide aur app ke help options dekhein.
Face badalne ki problem ho toh AI edit mein chehra consistent rakhne ka guide padhein.
More trends
View all → AI Photo Editing
Navratri 9 Look Grid Collage AI Prompt 2026 (Ek Hi Photo Se)
 AI Photo Editing
Moonlight Night Aesthetic AI Photo Prompts 2026 (Free Copy Paste)
 AI Photo Editing
Old Money Aesthetic AI Photo Editing Prompts 2026
 AI Photo Editing
Golden Hour Rooftop AI Photo Editing Prompts 2026
 AI Photo Editing
Bike Rider Cinematic AI Photo Editing Prompts 2026
 AI Photo Editing